

This modern crochet bag pattern is essentially a single rectangle that is folded and sewn to form a pocket. It is the perfect pattern to use for your very first crochet bag because it is super simple and is a fun and relatively quick project.
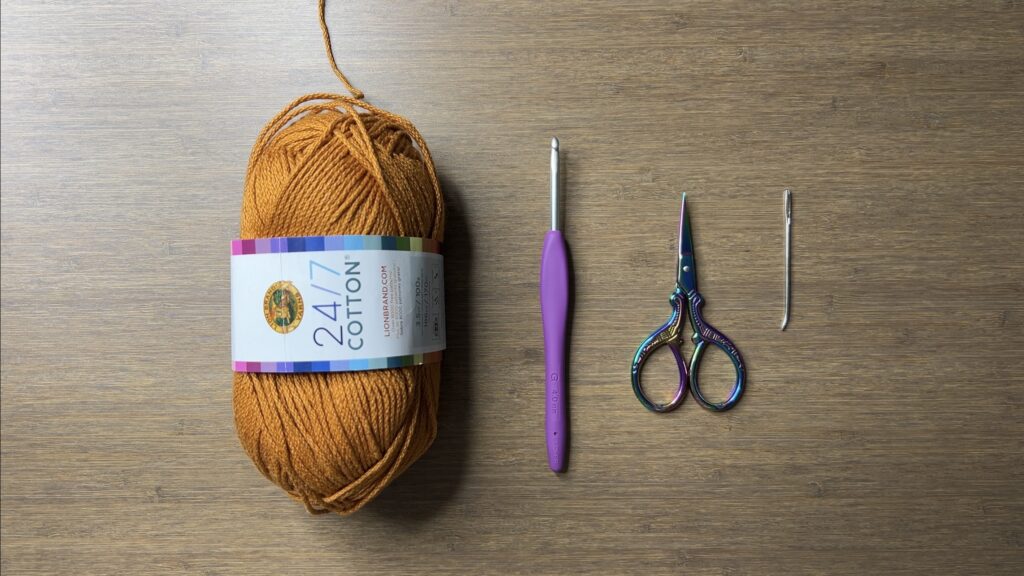
Materials
- 156 grams of medium weight cotton yarn (Lion Brand 24/7 Cotton yarn in “Amber“)
- 4mm Clover Amour crochet hook
- Scissors
- Yarn needle
- Stitch markers (optional)
Dimensions
Bag: 31 centimeters wide x 31 centimeters long (16 centimeters at shortest point)
Strap: 2 centimeters wide x 64.5 centimeters long
Gauge
11 rows of 19 double crochets makes a 10 x 10 centimeter square
Notes and Tips
- This pattern is written using US crochet terms
- The chain 2 at the beginning of each round does NOT count as a double crochet
- Use stitch markers to line up your rows before sewing
Abbreviations
ch = chain
dc = double crochet
st = stitch
Crocheting a Rectangle
How Many Chains Do I Need?
The number of chains you do for your foundation will affect the size of your bag. We can calculate the length of the foundation chain by dividing the length of the bag we want by 1.4. The 1.4 comes from rounding the square root of 2 when finding the diagonal length of a square.
(desired bag length)/1.4 = (rectangle width)
For example, if you want the bag to be 31 centimeters long and wide, divide 31 by 1.4.
31/1.4 = 22.14
This means that I want the width of my rectangle to be 22 centimeters long. The foundation chain might not match the length when you put your stitches in, so you might want to make a gauge swatch to be sure.
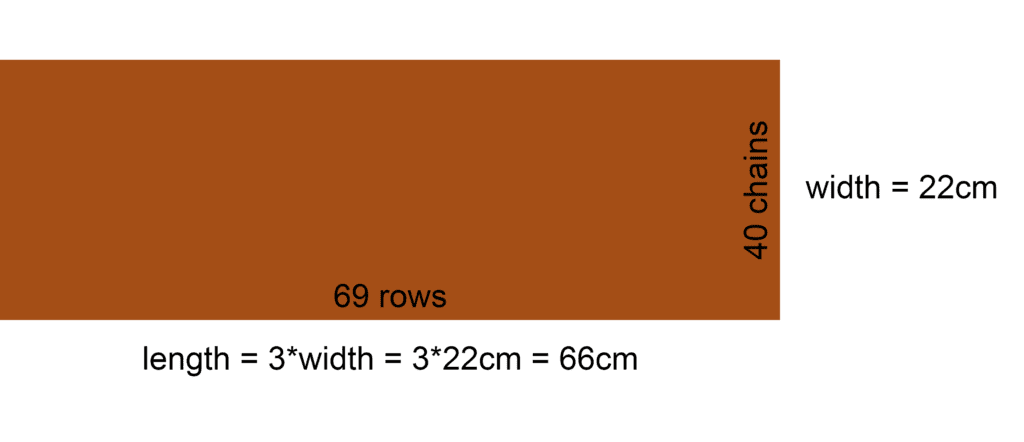
For me, 40 chains is about 19 centimeters long, but stretches to 22 centimeters when I put in my stitches. And this works out well for me, the final dimension of my bag is 31 centimeters.
Foundation
Slipknot, ch40 + 2 turning ch
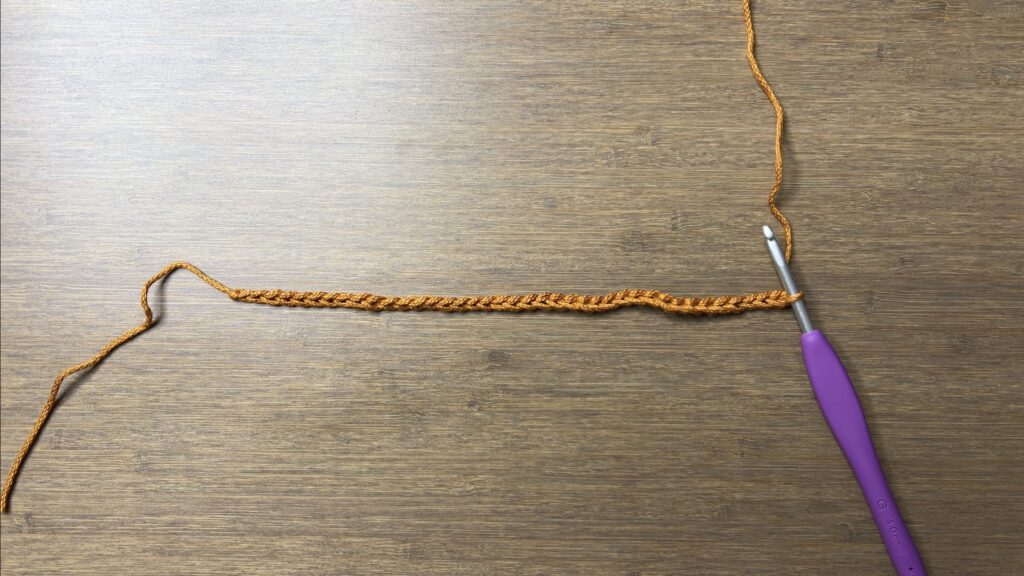
This will determine the width of your rectangle.
Row 1
dc across, starting in 3rd ch from the hook (40)
Dimensions: 22 centimeters wide
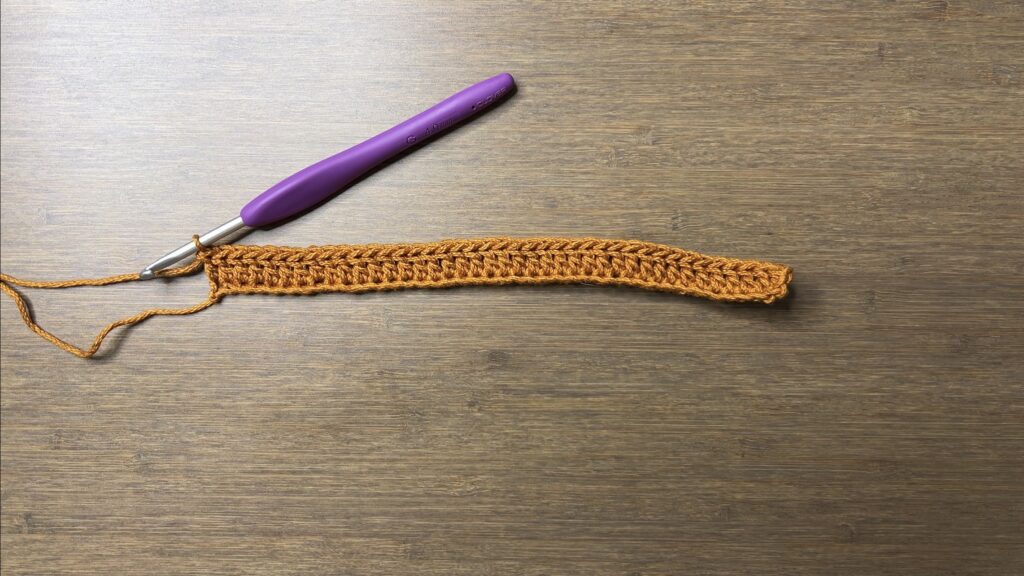
Row 2-69
ch2, turn, dc across
Continue adding rows until your rectangle’s length is 3 times the width. This can vary depending on your yarn, hook size, and tension.
For me, my width was 22 centimeters, so I need rows until it is 22*3 = 66 centimeters long. Make the number of rows a multiple of 3 to make sewing easier!
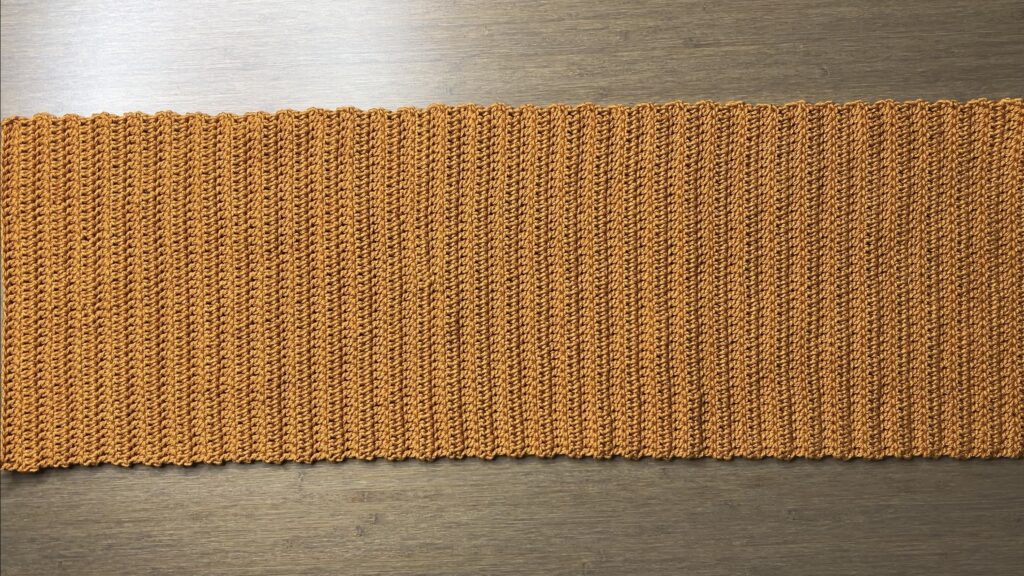
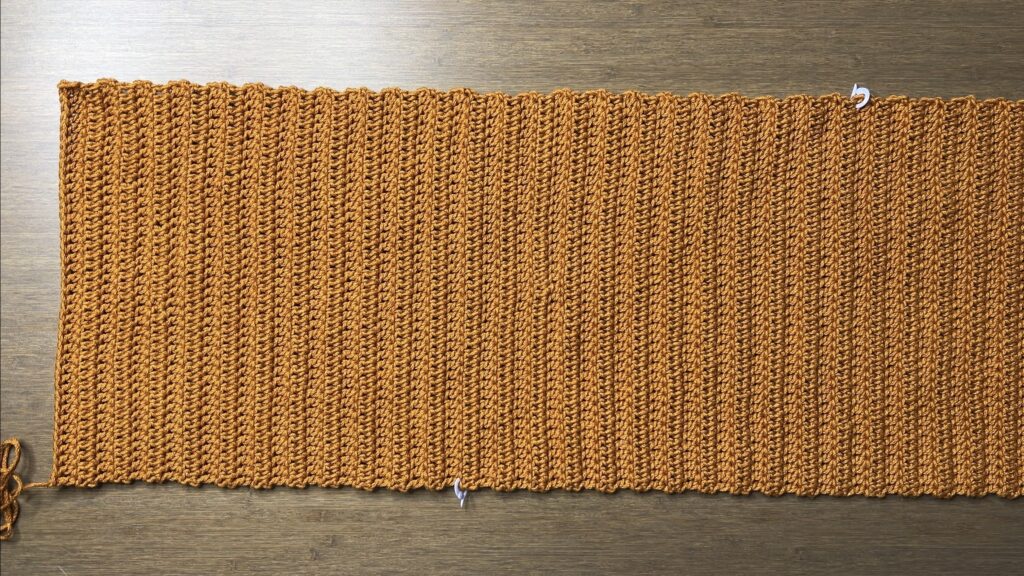
Fasten off with extra long tail end for sewing.
Dimensions: 22 centimeters wide x 66 centimeters long
Folding
Lay your rectangle flat with the fastened off end at the bottom left. Use stitch markers or bobby pins to divide the rows into 3 equal sections. Since I have 69 rows and 69/3 = 23, I have 23 rows in each section.
I put the left stitch marker along the bottom and the other along the top because it’ll end up at the bottom points when we fold it.
Fold the bottom left corner up and the top right corner down so you have a square with a triangle on either side.
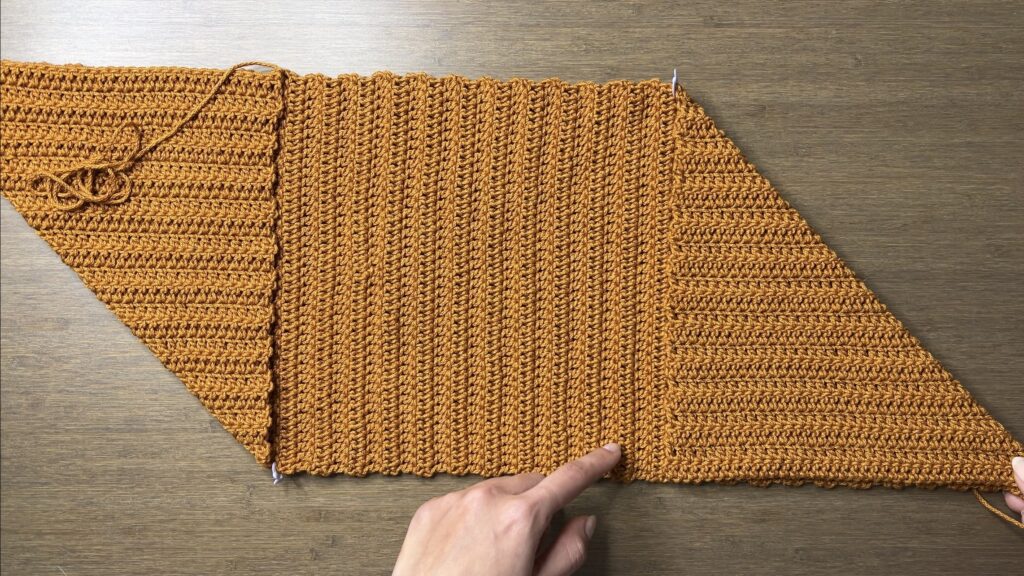
Take the bottom right corner and fold the middle square diagonally in half.
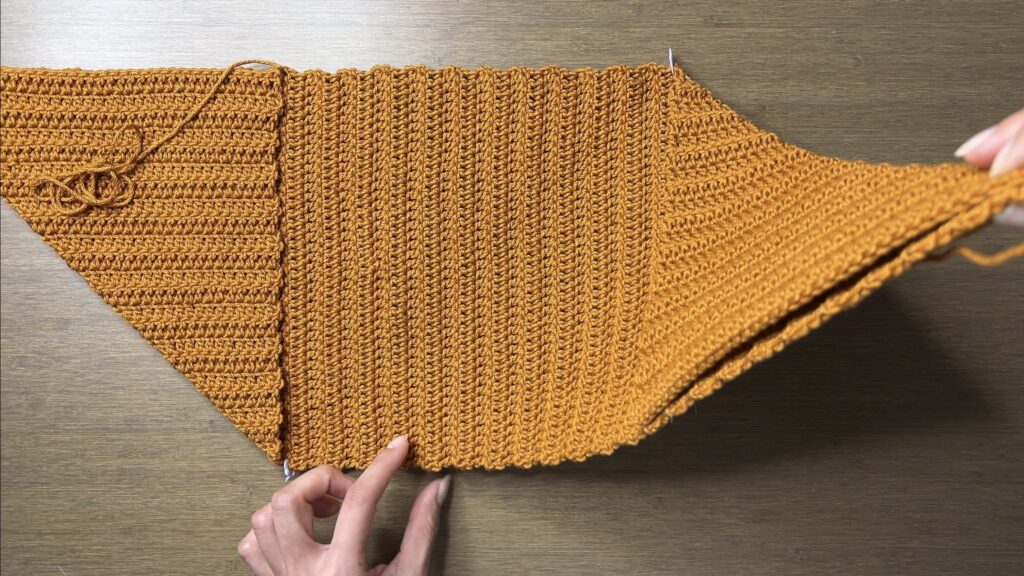
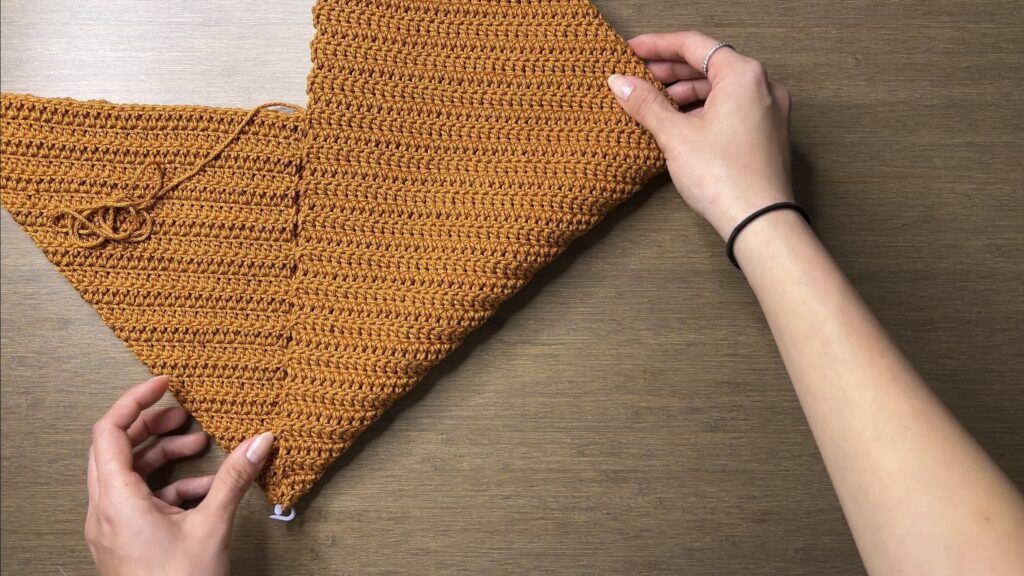
Now, you should have your bag shape and I added additional stitch markers to make sure that these rows are lining up perfectly. And when we have these two lines sewn, it’ll form this pocket.

Sewing Bag
We can use the long tail end we left to sew up one side of the bag and attach a strand of yarn to sew the other side. You can use whichever sewing method you prefer. Here, I used the whip stitch method.
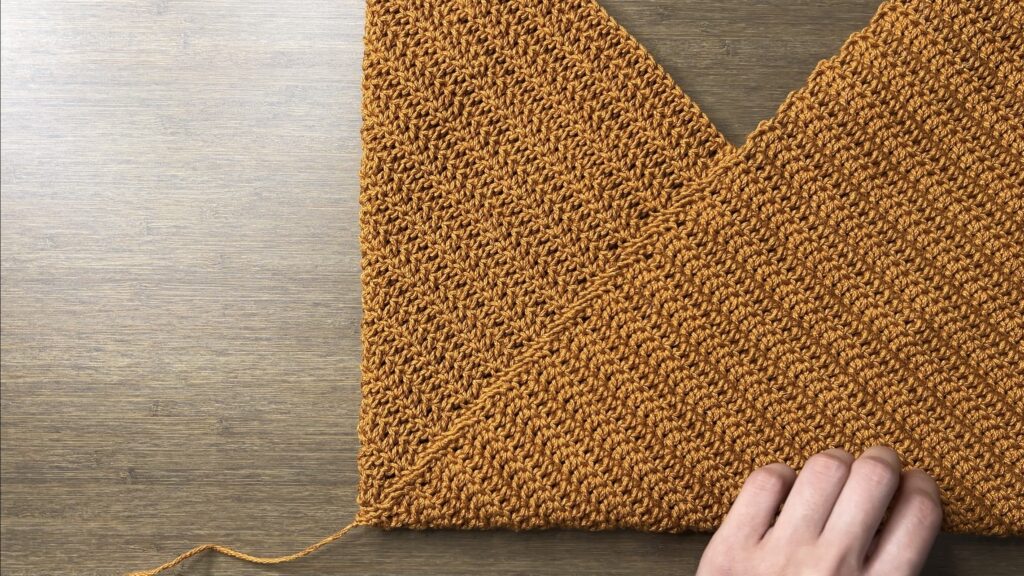
Dimensions: 31 centimeters wide x 31 centimeters long
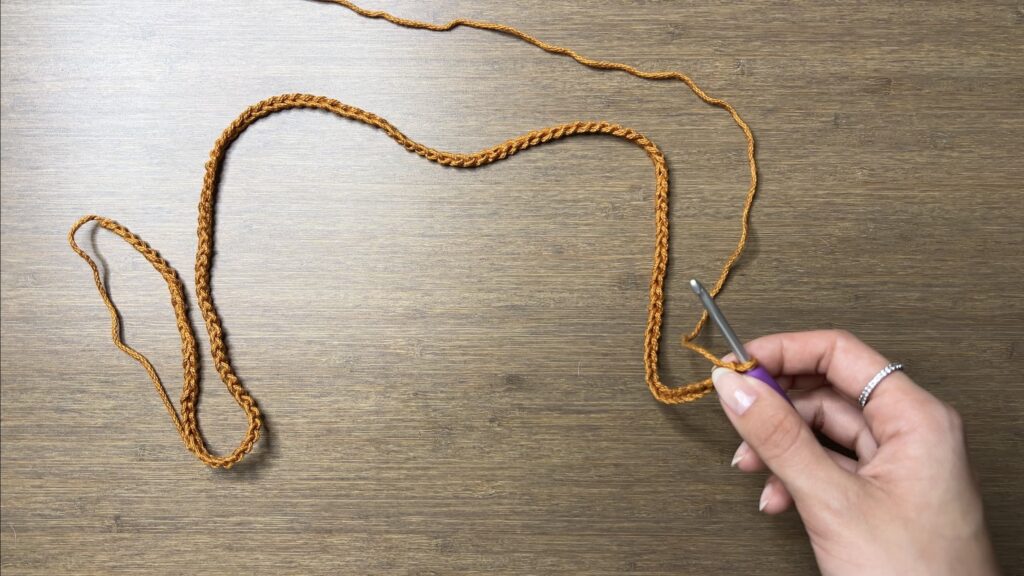
Bag Strap
Foundation: Slipknot with a longer tail end, ch120 + 2 turning ch (or however long for strap length)
Don’t forget to account for the foundation chain getting longer once you put your stitches in and the stretching when you wear the bag.
You don’t have to count all of your chains unless you want it to be exact. And if you want to see how the bag will look with the strap being this long, what I like to do is pin my foundation chain onto the bag and try it on.
Row 1: dc across, starting in 3rd ch from the hook (120)
Row 2: ch2, turn, dc across
Continue adding rows until the strap is the width you want. Do an even number of rows if you want to use the tail ends to sew the two sides.
Fasten off with a longer tail end for sewing.
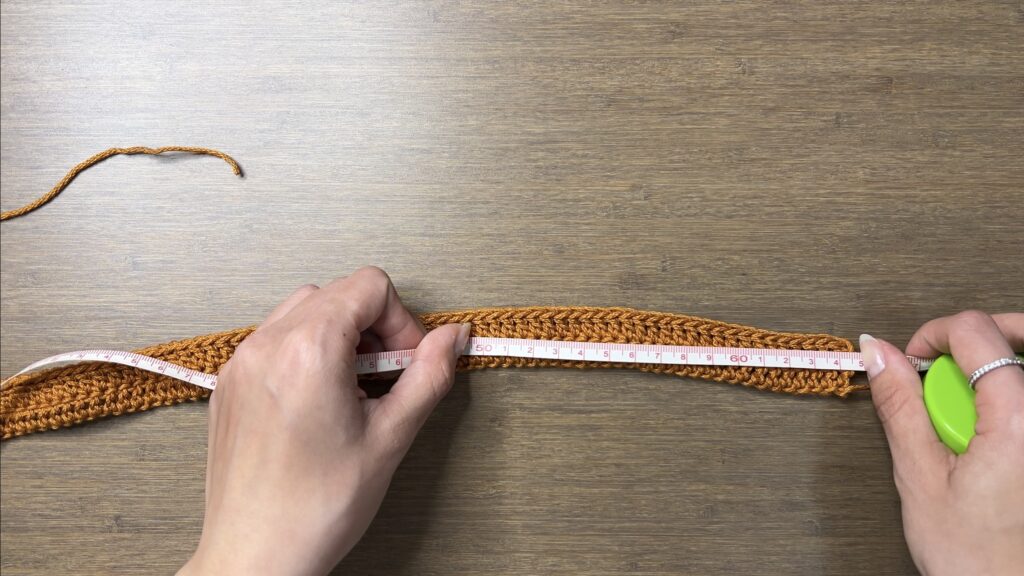
Dimensions: 2 centimeters wide x 64.5 centimeters long
Sewing Strap to Bag
Now, we can sew the strap to the bag using the two longer tail ends we left at the beginning and end.
I wanted the strap to seamlessly blend into the bag rather than have a visible separation. I used the same whip stitch technique we used previously to attach each end of the strap to the points at the top of the bag. Since the strap is a little wider than the point of the bag we’re attaching it to, the strap will pinch in a little.

Weave in your loose ends.
And your crochet crossbody bag is finished! If you plan to use it for anything heavier than your everyday essentials, I would recommend lining the bag with fabric and reinforcing the strap.